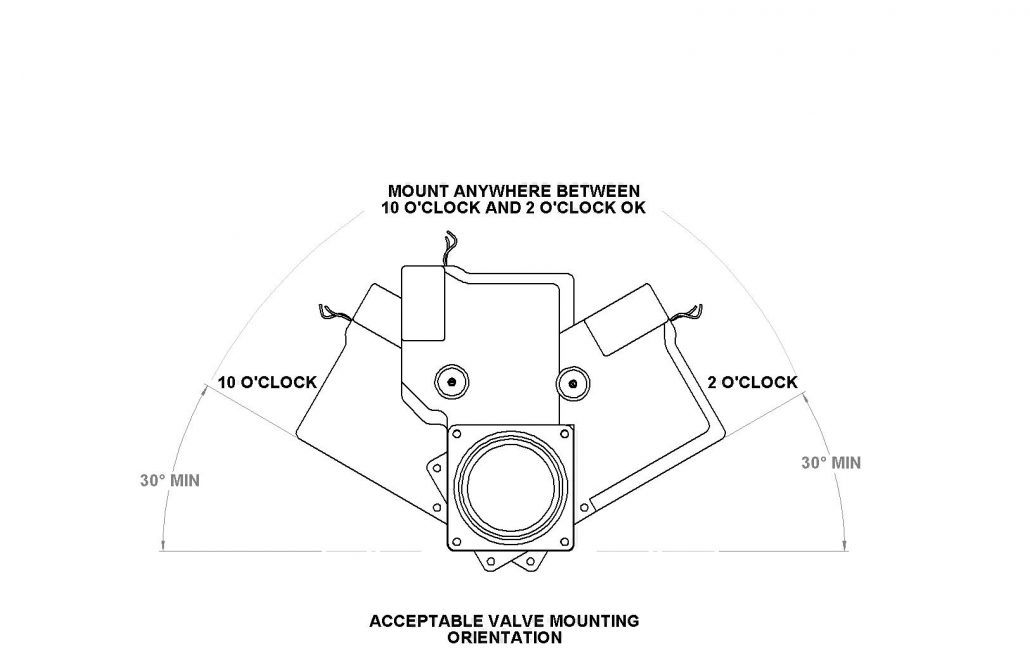
We have talked about valve positioning in the past and most manual valve failures can be contributed solely to the position the valve body is in, in relation to the pipe it is located in. Keeping the valve body over the piping, as opposed to beside or under the piping, is the key to long term reliability and performance.
This sounds simple, but in reality, once the RV is designed, built and sold to the consumer, the task of repositioning becomes a separate challenge. You will find that most of the time, a workable solution can be found. In rare cases, you are stuck with the existing configuration with no recourse, even if you replumb the whole system starting at the holding tank outlets.
Increasing the Gray Tank Outlet
Most RV manufacturers buy their holding tanks with an 1.5″ reducer in a 3″ hole on the tank for the gray water. This reducer can be removed in most cases. By having the gray tank outlet 3″, you will get the actual water flow necessary to remove the scum build up on top of the water as the gray tank fills. If this is possible, you should definitely do it!
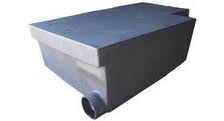
Imagine your holding tank (pictured below),outlet(s), and begin here.
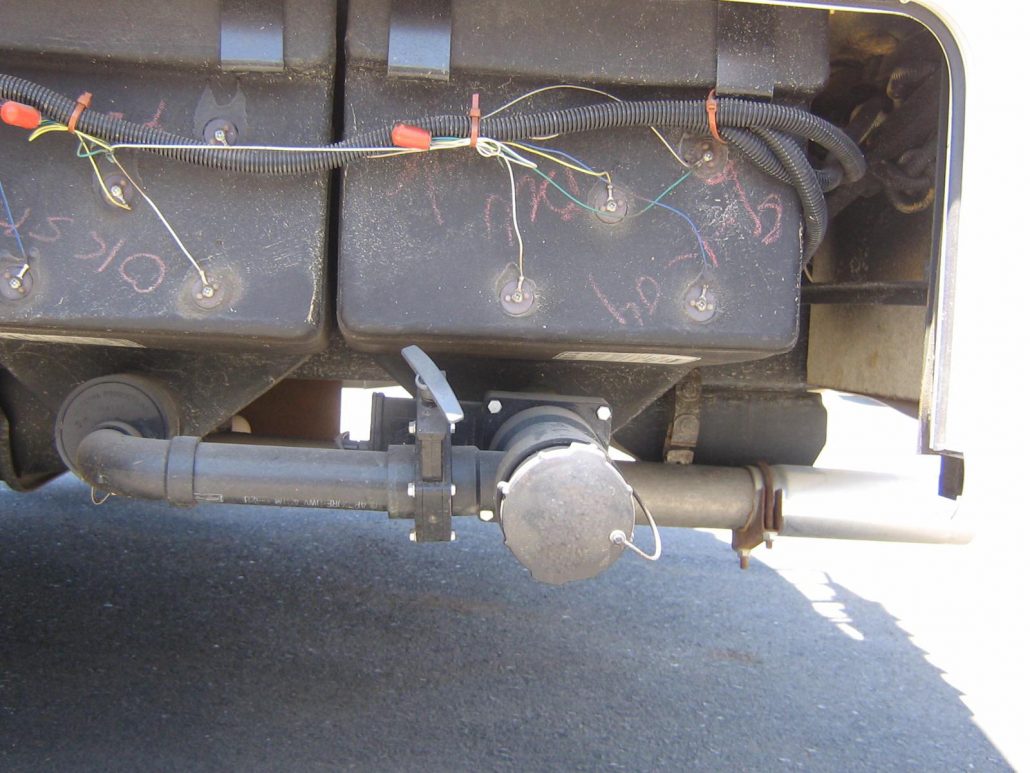
First make sure you can remove the reducer in the gray tank(s). If not, you will need to look at alternates (described later) then see if you have 6 to 8 inches above both tank outlets. If so, the valves should be mounted as close to the tank as possible (see pic below), to prevent solids from building in the pipe, between the tank and the valve face, causing a cork.
OLYMPUS DIGITAL CAMERA
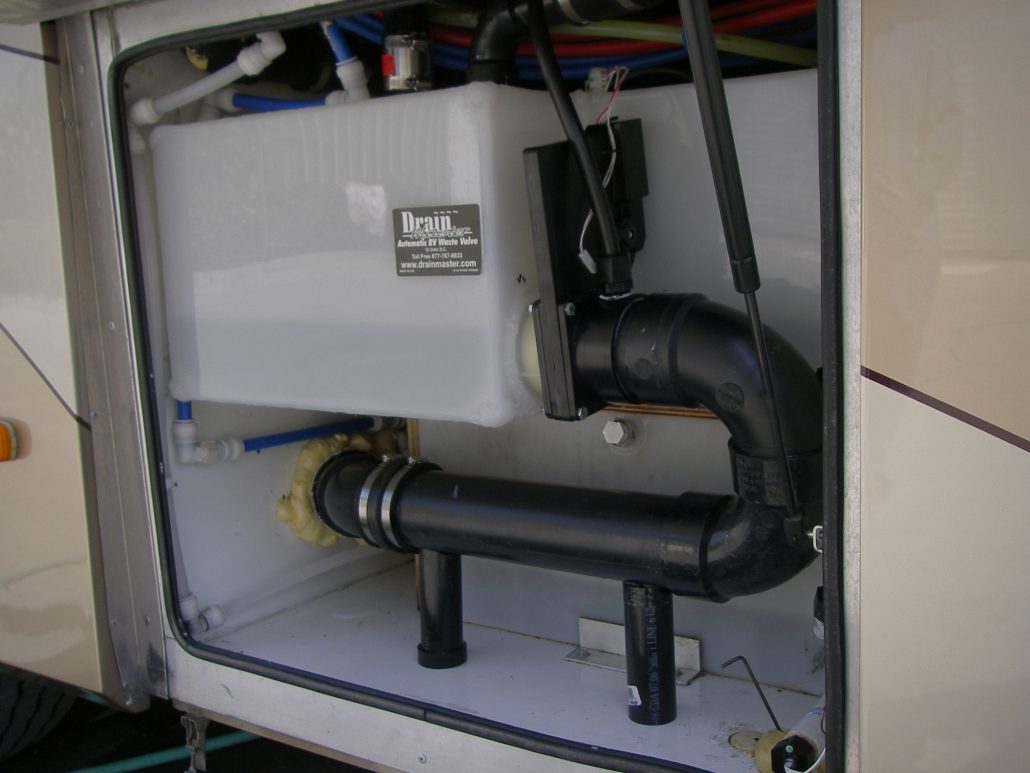
If you do not have the room, come out until you have the overhead room to mount the valves over the pipe in their respective flanges. Now plumbing to the side of the coach where you connect the sewer hose becomes pretty simple—in most cases.
Alternative– 1.5″ tank outlets mean you will need to continue with the in 1.5″ pipe from the holding tank and use a reducer on the tank side of the valve, then increase the pipe size to 3″. If not, you will have to plumb the rest of the way with the existing pipe and termination assembly.
Our goal is to make dumping your holding tanks uneventful and as efficient as possible. We highly recommend reading our “First in Last out” rules of dumping your tanks. If all RVers used this method we would eliminate ground water contamination between the RV site and the sewer inlet, a common issue at parks with full hook ups. Be an environmentally friendly RVer!
We are happy to work with our customers on these types of issues, so please feel free to contact us 877 787-8833 toll free with any of your questions.